What is Bathroom Waterproofing?
Bathroom waterproofing is the essential process of sealing and protecting your bathroom surfaces from water ingress, moisture buildup, and potential leakage. It plays a critical role in maintaining the integrity of your bathroom by preventing mold growth, dampness, and structural damage. A well-waterproofed bathroom not only enhances durability but also maintains cleanliness and aesthetic appeal.
Bathrooms are among the most frequently used spaces in any home, making them highly susceptible to issues like water damage, mold growth, and structural deterioration. Constant exposure to moisture, steam, condensation, and water splashes can gradually seep into tiles, grout, and walls, leading to costly and long-term damage if not properly managed.
Bathroom waterproofing involves applying specialised techniques and products such as waterproof membranes, sealants, and protective coatings to create a reliable water-resistant barrier. These materials help block water from penetrating floors, walls, and ceilings, ensuring your bathroom stays dry and damage-free. Choosing the right bathroom waterproofing method and materials is key to achieving long-term protection and performance.
Below, we explore the top four effective methods of bathroom waterproofing, based on proven results and industry best practices.
Table of Contents
What Are the Most Common Causes of Water Leakage from a Bathroom?
Water leakage from a bathroom is one of the most common causes of long-term structural damage in residential and commercial properties. If not addressed during the construction phase, it can lead to damp ceilings, peeling paint, musty odours, and even costly repairs to the rooms below. That’s why bathroom waterproofing is crucial from the very beginning.
Know About – The Main Causes of Bathroom Leakage
1. Inadequate RCC Slab Thickness
According to building norms:
For commercial buildings, the RCC slab should be at least 4 inches (100mm) thick.
For residential buildings, it should be 6 inches (150mm) thick.
An insufficient slab can weaken the base structure and increase the risk of leakage over time.
2. Poor Plumbing Work
Faulty plumbing connections, low-quality pipes, or improper installation can cause water to leak from fittings and joints. Over time, these minor leaks can become major issues, especially if hidden behind walls or under flooring.
3. Unprofessional Core Filling
When drainage pipes are passed through the RCC slab or walls, a core hole is made. If this core isn't sealed properly using the right waterproofing chemicals and cement, it becomes a major source of leakage. Often, plumbers or carpenters fill these gaps with regular cement-concrete, which fails to create a watertight seal.
Only a professional bathroom waterproofing specialist can seal these areas effectively to prevent future leaks.
4. Improper Slope and Tiling Gaps
A poorly designed drainage slope can cause water to accumulate instead of flowing toward the drain. Additionally, gaps in tile joints or improperly grouted tiles create easy paths for water to seep through the floor and walls.
How to Prevent Bathroom Water Leakage
Use high-quality waterproofing materials and sealants during construction.
Ensure all joints, tile gaps, and pipe passages are properly sealed with professional-grade waterproofing solutions.
Maintain the correct tiling slope to avoid water accumulation.
Hire experienced professionals for both plumbing and bathroom waterproofing work.
Taking these precautions ensures your bathroom remains leak-free, hygienic, and structurally sound for years to come.
Bathroom Waterproofing: Learn the Top 4 Methods to Prevent Leaks
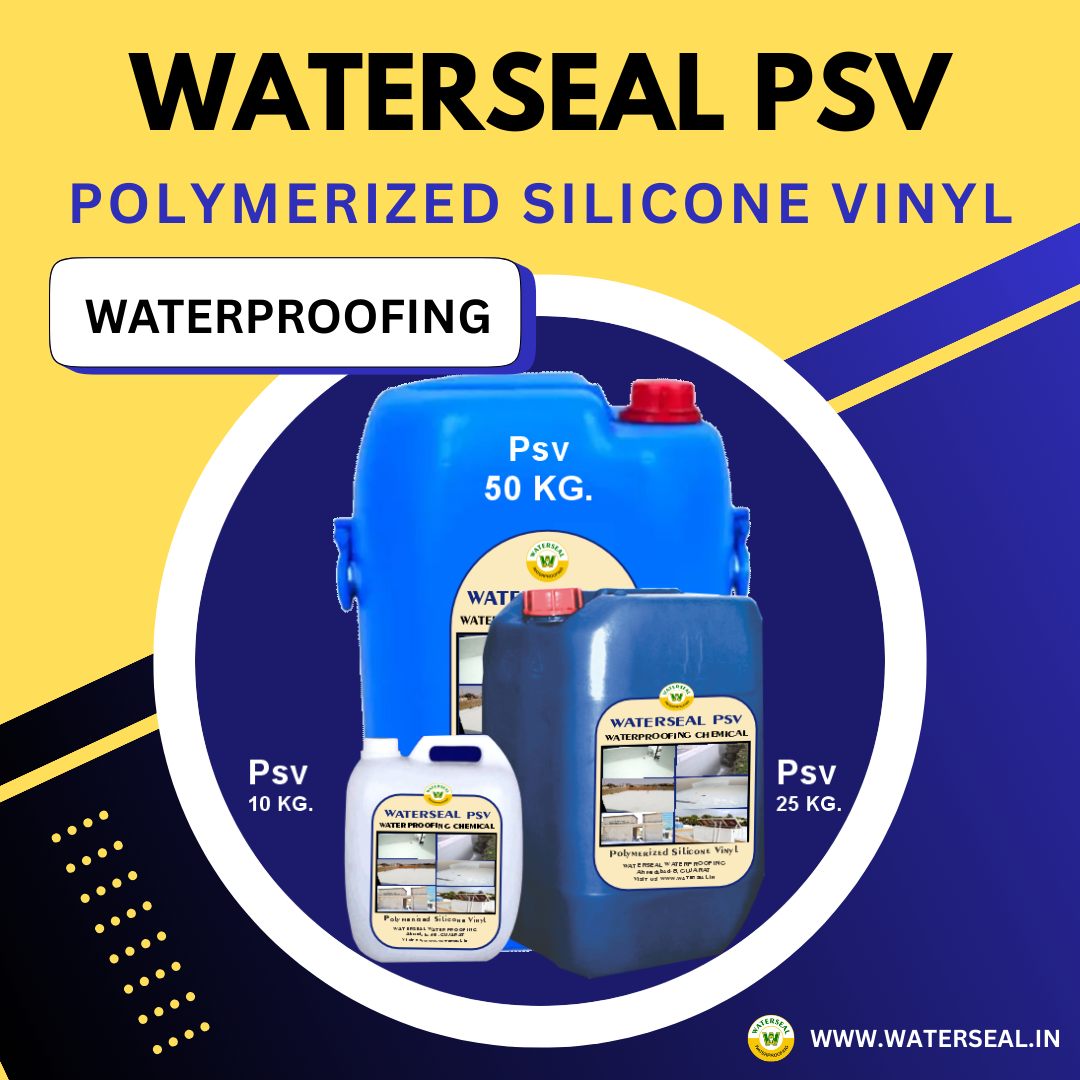
- 50 KG.Packing ₹17,999.00
- 25 KG. Packing ₹9,399.00
- 10 KG. Packing ₹3,699.00
1.Method for the new bathroom Waterproofing
- Cleaning the floor area in the bathroom.
- All Core Filling
- Apply the first Coat to fill the invisible cracks and small holes with diluted PSv (1 Part of PSv + 2 Parts of Clean Water)
- Applying the second and third Coatings of 1 Part PSv + 1 Part Water + 1 Part of White Cement to strengthen the surface.
- Applying the last coat of Waterseal PSV with a sprayer or brush.
*Read More Details For This Method

In this video, we show you the latest and most effective method for new bathroom waterproofing, including core cut hole filling, advanced waterproof coating, and professional finishing techniques. Whether you're building a new home or renovating, proper bathroom waterproofing is crucial to prevent future leakage, dampness, and structural damage.
This method ensures 100% protection using high-quality waterproofing chemicals and expert application techniques. Watch how we waterproof a new bathroom floor while professionally sealing drainage pipe cut-outs (core cuts) to prevent water seepage
📌 Why is Bathroom Waterproofing Important?
- Prevents water leakage and seepage
- Avoids damage to lower floors or ceilings
- Protects walls and flooring from mold and dampness
- Increases bathroom life and hygiene
- Saves on costly repairs in the future

💧 What’s Covered in This Video?
✔️ Core cut hole filling process
✔️ Waterproofing coating application
✔️ Curing and drying for long-lasting results
🛠️ Applications
- New Bathroom Construction
- Core Cut Filling Around Drainage Pipes
- Toilet Waterproofing
- Residential & Commercial Bathrooms
2. Old Bathroom Waterproofing with Floor Renovation
How to Waterproof an Old Bathroom Floor?
If the bathroom floor is not properly waterproofed, it can lead to serious issues like water leakage, dampness, and structural damage to the rooms below. Over time, untreated leakages can cause mold growth, peeling paint, and even weaken the foundation of your building.
Proper bathroom waterproofing is essential to avoid these problems, especially when renovating or upgrading an old bathroom.
Step-by-Step Guide to Waterproofing an Old Bathroom Floor
1. Remove Existing Floor Tiles
Start by removing all the existing floor tiles to expose the base surface. This step is essential for identifying hidden issues and preparing the floor for proper waterproofing.
2. Replace Old Drainage Pipelines
Inspect and replace all drainage lines with high-quality pipes. Ensure core filling is done professionally to prevent future leaks.
3. Check for Bathroom Leakages
Before proceeding further, thoroughly check the new pipeline system for any leakage issues and fix them completely.
4. Apply Waterproof Coatings
Use premium waterproofing chemicals to coat the entire flooring area. This creates a strong moisture barrier and protects the surface from water ingress.
5. Level the Floor with Waterproof Plaster
After coating, apply a waterproof plaster layer to level the surface. This ensures an even base for tiling and adds another layer of protection.
6. Install New Tiles and Seal Joints
Lay new floor tiles using the correct slope for drainage. Seal all tile joints using a specially formulated admixture to prevent water seepage.
7. Cure and Dry Completely
Allow at least 24 hours for complete curing and drying. After this period, your waterproof bathroom floor will be ready for use.
✅ Old Bathroom Waterproofing Made Easy
Whether you're dealing with frequent leakages or planning a bathroom renovation, following this method ensures a long-lasting, leak-proof bathroom.
🎥 Watch Our Step-by-Step Video:
“Old Bathroom Waterproofing Method | How to Change Bathroom Floor and Waterproofing”
3.Complete Bathroom Renovation
How-to Bathroom Waterproofing and Bathroom Renovation in 7 Easy Steps:
- Unload all the Sanitary and Taps from the bathroom.
- Removing all tiles from the walls and flooring.
- Replacing all pipelines with the best new quality pipes.
- Check the new pipeline for any Leakage and solve it.
- Waterproof coatings are applied over the walls and flooring.
- Levelling Walls and Flooring with new waterproof plaster.
- New tiling is applied to walls, flooring and filling joints with a specially made PSV mixture.

- 50 Feet.Nano Starter Kit ₹.999.00
- 150 Feet.Standard Kit ₹.2.499.00
- 250 Feet.Mega Kit ₹.3,199.00


