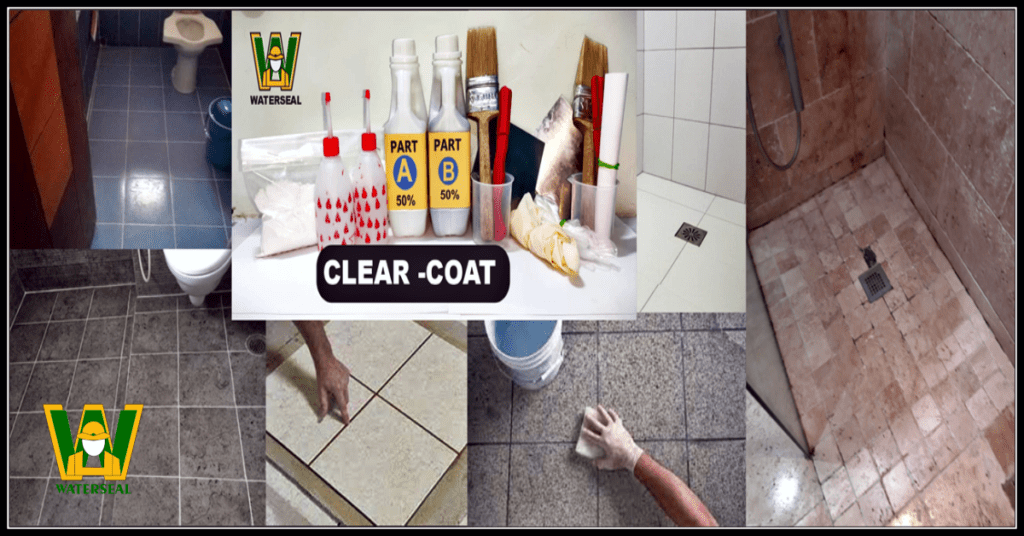
Clear Coat Kit for Bathroom Waterproofing Without Removing Tiles
The bathroom leakage kit is clear and the gloss finish coating is ideal for use Waterproofing Without Removing Tiles on surfaces. such as tiles, Chinese mosaics, terrazzo flooring, or previously coated concrete. The two-component clear coat and hardener make it easy to apply, and the surface must be clean and dry before application. Each kit can cover approximately 150 sq. ft. of tiles or china mosaics. It takes 72-96 hours to completely cure at 30-40°C, and has a pot time of 30 minutes. Overall, this coating is a great solution for those looking for a durable and shiny finish for their interior floors.
Clear Coat Kit for Waterproofing Without Removing Tiles
TOTAL 10 ITEMS In the one Kit
1. Clear-Coat (Part -1): 500 ml
2. Clear-Coat (Part -2): 500 ml
3. Crack Filler Powder: 500 Grm 4. Needle Bottle 100 ml – 1
5. 4″ Hand Scraper: 1
6. Hand Gloves: 1 Pair
7. Measuring cup For 100 ml – 1
8. Hand Grout (Diamond) Cutter: 1
9. How to Apply Instructions – Hard Copy.
10. 2″ Paint Brush: 1

Learn how to apply tile joints with a clearcoat kit.
1. Clean the surface: Before applying the tile joint, ensure that the surface of the tiles is clean and free from any dirt or debris. Use a cleaning solution to wipe down the tiles and the joint areas.
2. Cut the nozzle: Cut the nozzle of the tube at a 45-degree angle to the desired width of the joint. Ensure that the nozzle is not too wide or too narrow.
3. Apply the sealant: Squeeze the tube gently and apply the sealant to the joint area. Ensure that the sealant is spread evenly and covers the entire joint.
4. Smooth the joint: Use a sealant smoothing tool or a damp finger to smooth out the joint and remove any excess sealant. This will ensure that the joint is neat and tidy.
5. Allow to dry: Leave the sealant to dry for at least 24 hours before using the bathroom. This will ensure that the sealant is fully cured and will not crack or peel.
6. Clean up: Clean up any excess sealant with a damp cloth or scraper before it dries. This will ensure that the joint is clean and free from any unsightly marks.
By following these simple steps, you can easily apply a tile joint using a bathroom leakage kit. This will help to prevent water damage and keep your bathroom looking clean and neat.
MOST IMPORTANT MIXING RATIO
For Bathroom Tiles Joints:
use a 2:1 ratio of Part A (50 ml) and Part B (25 ml). (Hard and dry Coating)
100 ml measuring cup should be used and the mixture should be put into a needle container.
For Terrace/Gallery Tiles Joints:
mix Waterseal's Clear-Coat in a 1:1 ratio of Part A and Part B. (Like 50 ml+50 ml) This coating is flexible and slow-setting, suitable for open spaces.
the mixture should be put into a needle container.
