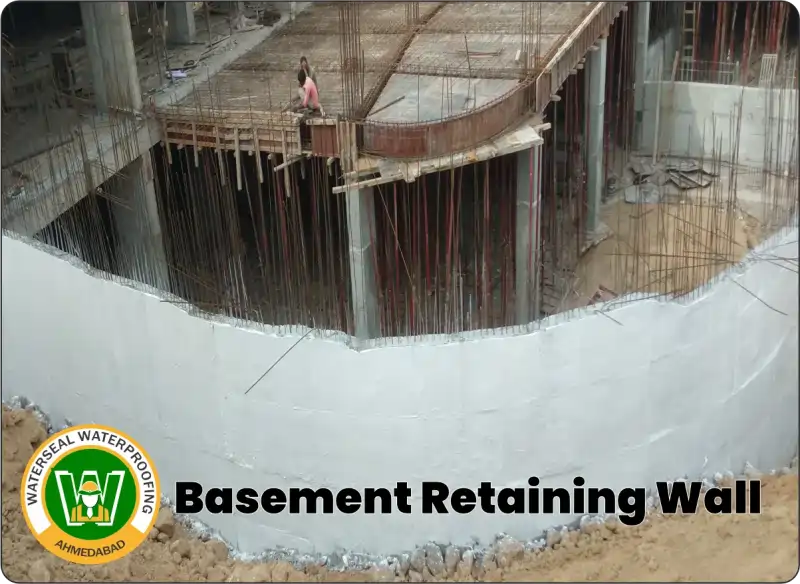
Basement Retaining Wall Waterproofing
is essential for protecting below-ground structures from water infiltration, moisture damage, and long-term structural decay. Applying a high-quality waterproofing coating like PSV before backfilling creates a strong barrier that blocks seepage, prevents mold growth, and reduces the risk of cracks over time. This process helps extend the life of your basement walls and avoids costly future repairs.
In this guide, we will walk you through a step-by-step process for applying exterior wall waterproofing coatings effectively.
Likewise, Waterproofing creates a barrier against moisture. Enhances the durability of the exterior surface. It reduces the risk of cracks, seepage, and mold formation over time.

Step 1: Surface Preparation
Proper surface preparation is the foundation of a successful waterproofing application. Without a clean and smooth base, the coating may not adhere properly or provide long-term protection.
- First, clean the wall surface thoroughly. Remove dirt, dust, grease, and all loose particles using a high-pressure washer or a stiff wire brush Also.
- Next, repair all visible cracks and surface defects. Fill gaps and fractures using a quality crack filler kit to ensure a smooth and uniform surface.
- Remove all damaged or inconsistent layers to ensure maximum bonding of the new waterproofing system.
- Fill and level small holes or dents using a mixture of PSv Chemical + Putty Powder for a firm, even base.
This preparation is not optional—it is essential.
Step 2: Choose the Right Waterproofing Coating
Once the surface is ready, it’s time to choose a suitable waterproofing material. This decision directly impacts the longevity and performance of your coating.
✅ Polymarized Silicone Vinyl Coatings – These are known for their strength and excellent UV resistance.
✅ Acrylic-Based Coatings – These offer great flexibility, making them ideal for areas with temperature fluctuations.
✅ Elastomeric Coatings – These are highly stretchable and effective for walls that expand and contract with heat.
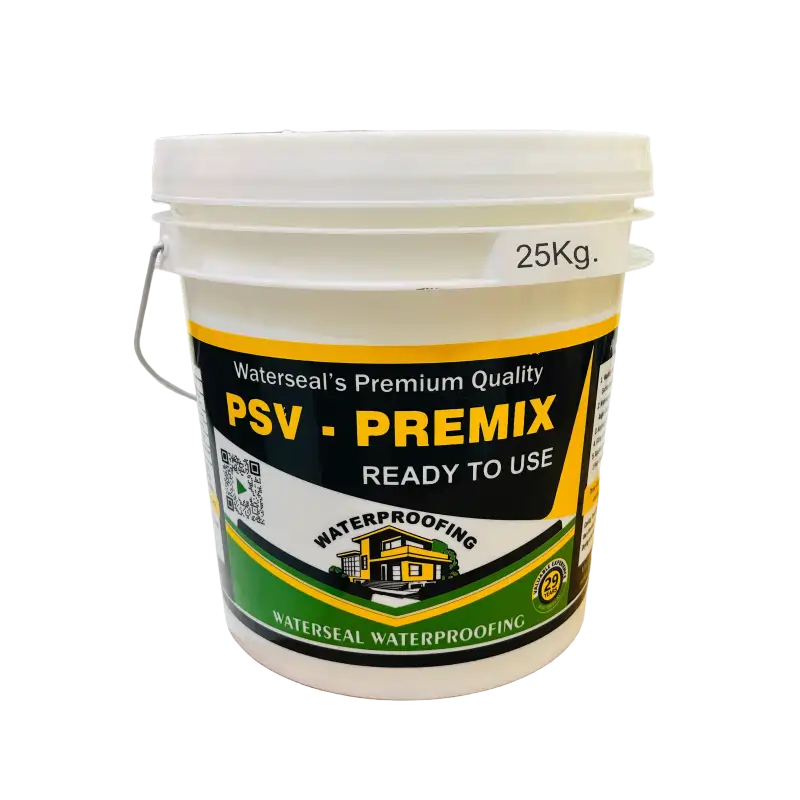
For Indian climates, where monsoons and high humidity are common, Waterseal PSv-Premix is a top-performing solution.
Step 3: Priming
Applying a primer enhances adhesion and ensures uniform coverage. Prepare a high-quality primer using:
✔ 1 part Waterseal PSv
✔ 2-part Water
✔ 1 part White Cement
OR
✔ 1 part Waterseal PSv-PREMIX
✔ 1 part Water
Step 4: Application of Basement Retaining Wall Waterproofing
To achieve a durable and long-lasting waterproofing barrier, it is essential to apply the coating with precision and care. Each stage of the application plays a critical role in ensuring complete protection from water infiltration. Moreover, Follow the steps below to apply the coating correctly:
🔹 First, mix the coating thoroughly. Stir the mixture well to achieve a smooth, lump-free consistency that spreads evenly on the surface.
You can follow either of these two mixing methods:
✔ Option 1 – Manual Mix
▪ 1 part Waterseal PSv
▪ 1 part Water
▪ 2 parts White Cement
✔ Option 2 – Ready-to-Use
▪ Use Waterseal PSv – PREMIX directly without any additional mixing.
🔹 Next, apply the first coat. Use a roller or brush to spread the mixture uniformly across the wall.
🔹 After the first coat dries, apply the second coat. Use the same application method to reinforce the waterproof layer. This second coat increases strength.
🔹 For added protection, apply a third coat. In this step, mix PSv chemical into the waterproof putty and apply it across the wall.
Step 5: Quality Inspection- Basement Retaining Wall Waterproofing
After drying, inspect the coating for:
✅ Missed spots or uneven coverage
✅ Air bubbles or cracks
✅ Proper adhesion to the surface.
Touch up any spots to ensure a smooth finish

Conclusion
Basement Retaining Wall Waterproofing is a wise and proactive investment for protecting your home or building from leaks, moisture damage, and long-term deterioration.
- Always follow manufacturer guidelines for mixing and application.
- Seek professional help for large-scale or high-rise projects.
- Ensure routine maintenance to preserve long-term waterproofing performance.
Traditional PSV requires white cement and must be mixed thoroughly using an electric mixer. It's typically used during new construction and applied by professional waterproofing contractors.
To make waterproofing more accessible, we’ve developed a ready-to-use premix waterproofing solution. This innovative product contains pre-blended speciality paint powders mixed using professional stirrers—no white cement required. Just add clean water, mix, and apply. It’s so simple that even non-professionals can use it confidently or hire someone with minimal experience to do the job.
How Weather Affects Exterior Walls
Basement Retaining Walls are constantly exposed to rain, UV rays, dust, and pollution. Over time, this leads to cracks, fading paint, and damp patches. That’s why a high-quality waterproof coating is essential to maintain both beauty and protection.
According to the waterproofing guide, untreated walls can absorb up to 20% of their weight in water, leading to structural issues and fungal growth. Using elastomeric and UV-resistant coatings helps avoid these costly repairs.
Talk To Our Experts And Get a Free Estimate for Your Dream Home
- 9825585997 / 8866903438
- info@waterseal.in


