Waterproofing Without Removing Tiles – Easy DIY Guide to Fix Bathroom Leakage
Bathroom leakage can be frustrating, especially when you want to fix it without the mess and cost of tile removal. Fortunately, waterproofing without removing tiles is now possible with advanced tile joint sealant kits and simple tools. Whether you're dealing with hairline gaps, tile joint cracks, or minor seepage, this method is quick, clean, and highly effective.
In this article, we’ll walk you through the 6 easy steps to waterproof your bathroom without removing existing tiles — using a bathroom leakage repair kit.
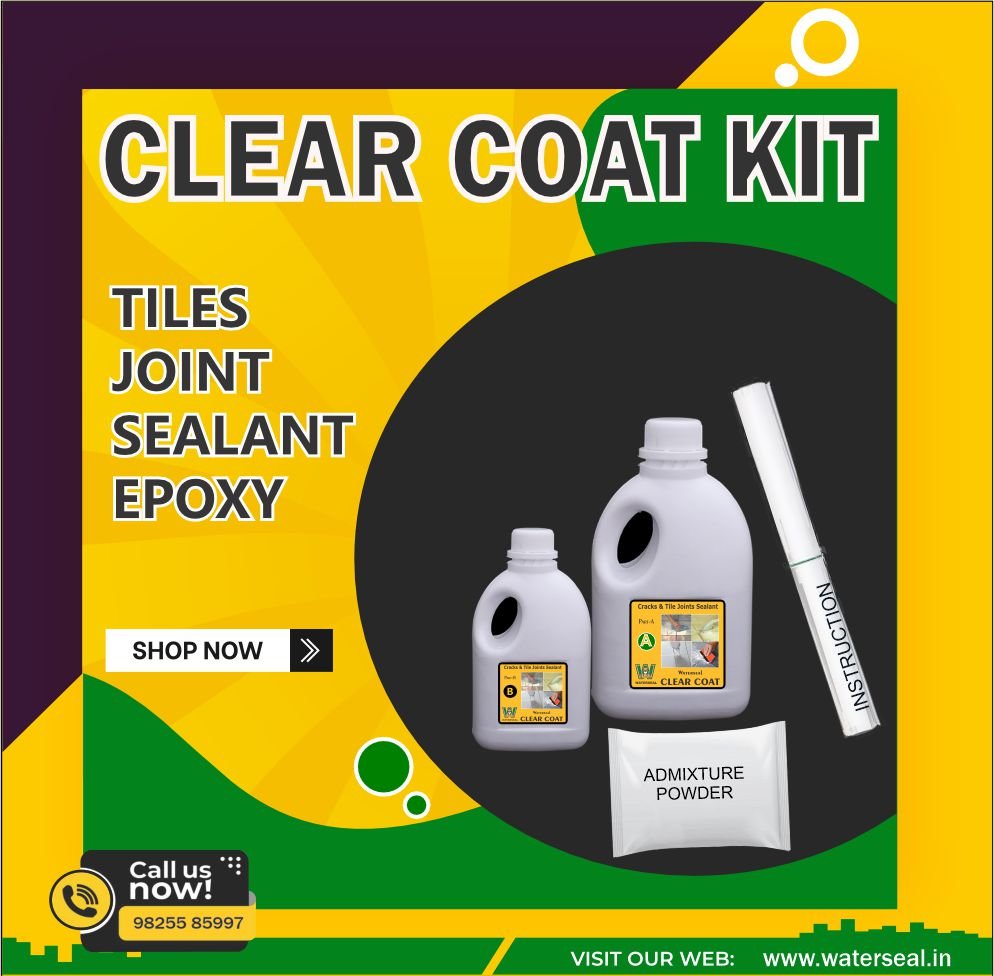
What’s Included in : Nano Starer Kit (50 Sq.ft)
Part A Clear Coat Epoxy -200 Gram
Part B Epoxy Hardener-100 Gram
Needle applicator bottle-1
100ml measuring cup-1
4″ putty knife/scraper-1
Crack grouting powder -50 Gram
2″ Paint Brush -1
How to Do – Hard Copy
🧱 Why Choose Waterproofing Without Tile Removal?
Removing tiles can be expensive, time-consuming, and sometimes unnecessary if the damage is superficial or limited to tile joints. Instead, applying a waterproof clear coat over the joints helps seal gaps, prevent water ingress, and extend the life of your tiles — all without breaking anything.
This method is ideal for:
Bathrooms with visible grout cracks
Leaky tile corners and joints
Rental properties where renovation isn't allowed
Quick and affordable DIY solutions
✅ Benefits of Waterproofing Without Removing Tiles
No demolition or dust
Cost-effective and fast
Ideal for both old and new bathrooms
Strengthens existing joints
Prevents mold, dampness, and structural damage
Can be done as a DIY project
🔗 Trusted Resource
Want more expert tips on bathroom waterproofing?
Check out this helpful guide on HomeLane Bathroom Waterproofing Techniques
🛠️ Bathroom Renovation in 6 Easy Steps (Without Removing Tiles)
Learn how to apply tile joint sealant with a clear coat kit:
1. Clean the Surface
Before applying the tile joint sealant, clean the surface thoroughly. Use a tile cleaner or mild detergent to remove dust, soap scum, and oil. Pay extra attention to the joints and corners where leakage is common.
2. Cut the Nozzle
Cut the nozzle of the sealant tube at a 45° angle. The cut size should match the width of the tile joints – not too wide or narrow. This helps in precise application.
3. Apply the Sealant
Gently squeeze the tube and apply the waterproof sealant directly into the joints. Cover every visible gap completely. A continuous, even bead ensures proper sealing.
4. Smooth the Joint
Use a sealant smoother or your damp finger to level the applied bead. This step improves both performance and appearance, preventing lumps and uneven coverage.
5. Allow to Dry
Let the sealant cure for at least 24 hours. Avoid using water during this time. Full curing gives you a strong, crack-free, and long-lasting waterproof barrier.
6. Clean Up Excess
Before the sealant dries completely, remove any excess material using a damp cloth or scraper. This leaves the tile surface clean and neat.
🧪 Most Important: Mixing Ratio
For two-component kits (Part A and B), follow this perfect mixing ratio:
2:1 Ratio — 50 ml of Part A and 25 ml of Part B
Mix in a 100 ml measuring cup
Pour the mixture into a needle container for accurate joint filling
This gives you a hard, clear, and durable coating that bonds tightly with ceramic tile surfaces.
💡 Final Tip
Fixing leaks without removing tiles is not only practical, but also adds years to your bathroom's life. With the right sealant, mixing ratio, and careful application, your bathroom can be dry, hygienic, and damage-free – without breaking a single tile!
📞 Need Help Choosing the Right Waterproofing Kit?
Waterseal offers easy-to-use, affordable kits specially designed for bathroom tile joint sealing without tile removal. Whether you're a DIY user or a contractor, our solutions are beginner-friendly and effective.
📞 Call: +91-9825585997

