Bathroom Renovation with Waterproofing – Step-by-Step Guide for a Leak-Proof Upgrade
Bathroom renovation is more than just changing tiles or fittings — it’s an opportunity to make your bathroom long-lasting, leak-proof, and beautiful. One of the most essential but overlooked steps is waterproofing, which ensures your bathroom stays safe from moisture damage, seepage, and fungal growth.
If you're planning a bathroom renovation with waterproofing, here is a simple guide to follow.
🚿 Why Waterproofing is Important in Bathroom Renovation
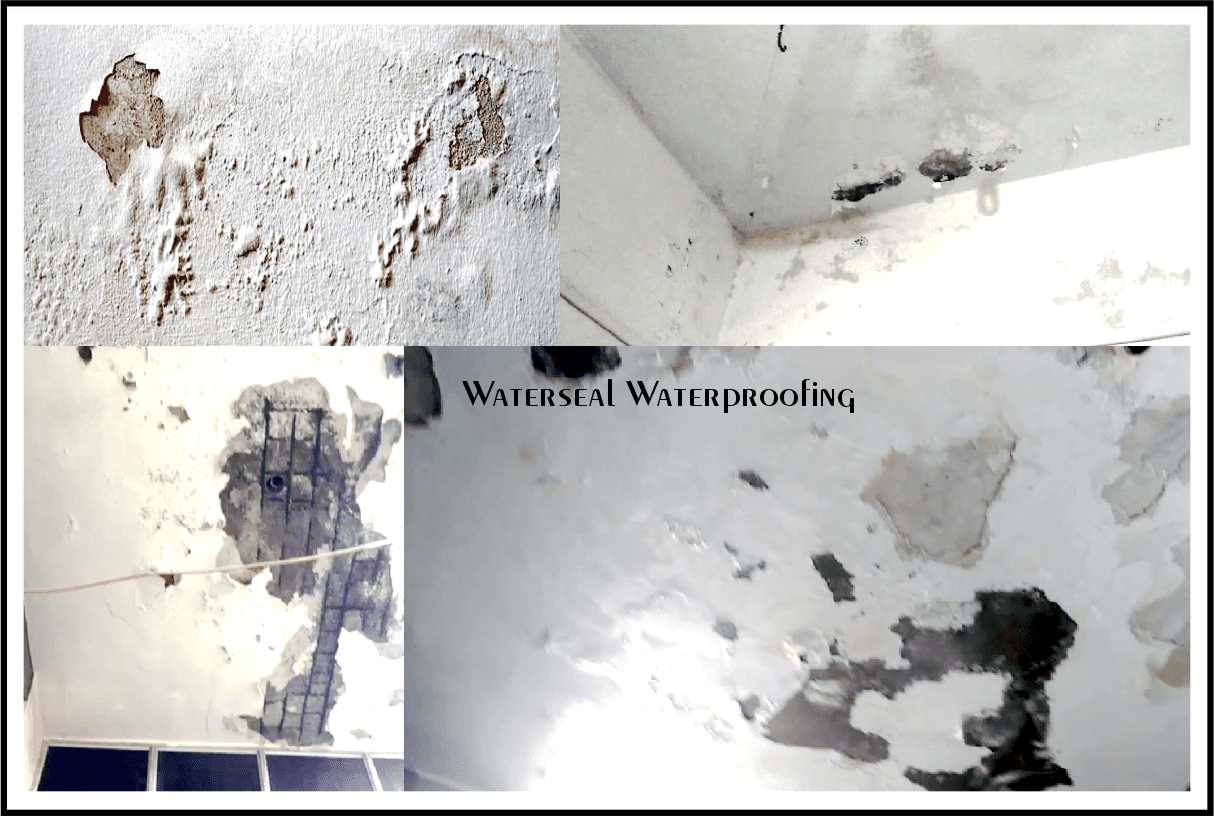
Bathrooms are constantly exposed to water and humidity. Without proper waterproofing, moisture can seep into walls and floors, damaging tiles, paint, and even the structure of your home. Cracks, damp patches, mold, and foul smells are common problems in non-waterproof bathrooms.
Including waterproofing during your renovation not only increases durability but also saves future repair costs.
✅ Benefits of Bathroom Renovation with Waterproofing
Prevents leakage and dampness permanently
Increases the life of tiles and paint
Avoids fungal and mold growth
Saves future maintenance and repair cost
Adds hygiene and comfort to your daily routine
🏠 DIY or Hire a Pro?
With ready-to-use products like Waterseal DIY Waterproofing Kit, even homeowners can do basic waterproofing themselves. If the bathroom is old or damaged, consider professional help for best results.
🔗 Recommended Resource:
Read more on Asian Paints’ Bathroom Waterproofing Guide
🧱 Bathroom Renovation in 7 Easy Steps
Whether you're hiring a professional or doing it yourself, these 7 steps will guide you through a smart and effective bathroom renovation:
1. Unload All Sanitaryware and Taps
Start by removing all bathroom fittings like washbasins, commodes, taps, and showerheads. This gives you full access to the walls and floor for deeper work.
2. Remove Existing Tiles
Next, carefully break and remove all tiles from the floor and walls. Old tile adhesive and cement should also be cleaned off to prepare the surface.
3. Replace Pipelines with New Quality Pipes
Old pipes can be rusty or cracked, leading to hidden leaks. Replace them with high-quality PVC or CPVC pipelines that ensure smooth and long-lasting water flow.
4. Check for Leakage and Fix It
Before proceeding, test the newly installed pipelines for leakage. Fix all joints and ensure water pressure is steady and leak-free.
5. Apply Waterproof Coatings
This is the most important step. Apply a strong waterproofing coating over the entire floor and wall surface. Use a flexible waterproof chemical like Waterseal PSV that resists moisture and bonding failure. Apply 2–3 coats as per instructions.
6. Level Walls and Flooring with Waterproof Plaster
After waterproofing, apply a new layer of plaster that is also waterproof. This helps in leveling the surface before tile work and ensures double protection against moisture.
7. Install New Tiles with Waterproof Joint Filling
Fix new tiles of your choice on the floor and walls. Use a PSV-based waterproof tile filler in the joints, instead of regular grout. This prevents water from seeping through tile gaps — a common problem in the bathroom
WaterSeal Waterproofing Combo Pack is your comprehensive solution for effective and long-lasting waterproofing. Designed for both DIY enthusiasts and professionals, this combo pack ensures that you have everything you need to protect your property from water damage.
This powerful all-in-one kit allows you to cover 250 to 300 sq. ft. of surface area with three full waterproofing coatings – ideal for terraces, roofs, crack joints, and more.
📞 Need Help?
Want to renovate your bathroom with waterproofing?
Contact Waterseal for expert advice or order a DIY kit today.
📲 Chat on WhatsApp
📞 Call: +91-9825585997


